
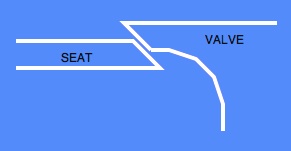
Fitting Valves
Once the primary angle in the seat has been cut, the valves need to be ground to size - to fit into the seat properly. Most valves will be slightly oversized if new, or very close to the correct size if the old valves are being re-used (if the valves are smaller than the newly cut seats they cannot be used).
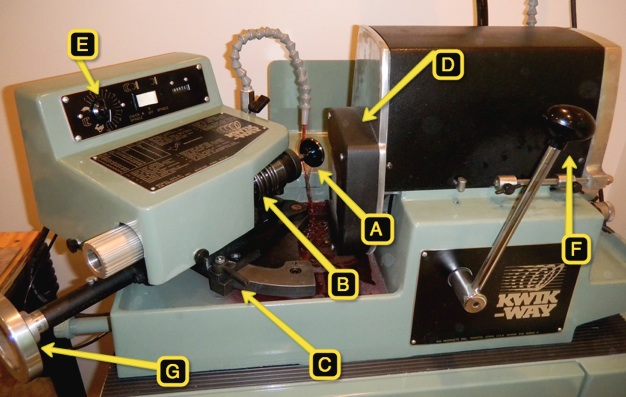
A dedicated valve grinder is used to grind the valves due to the very fine tolerances required - one half of one thousandth of an inch runout. The valve (A) is held in a highly accurate chuck (B). The angle desired - usually 45 degrees - is set (C). Speed of rotation of the valve (E) is determined by valve diameter for the smoothest possible finish. The amount of metal to be removed at each pass (usually one thousandth of an inch) is set on the slide (G) and then the grinding wheel (D) is passed along the face of the valve with lever (F).
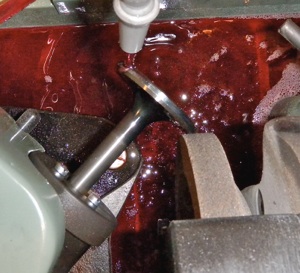
Here is a close up of the valve being ground, with coolant to prevent overheating and improve the quality of the final surface.
The process of resizing the valve is incremental. After one to two passes, the valve is coated with machinist’s blue and fitted into the valve guide.
After several cycles of grinding and fitting.
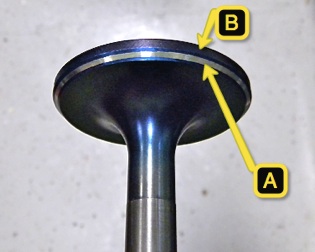
Here, the dye has been removed by contact with the valve seat and it can be seen that dye remains both above and below the area of contact (A). This valve has been properly sized to the seat.
It is vital that the valve not be ground to far, which would result in a very narrow margin - the vertical area of metal above the face (B). If the margin is too thin, the valve will quickly burn through.
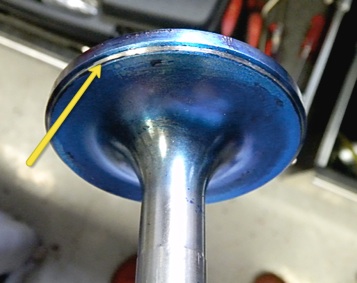
The area of contact (A) is well placed on the center of the face, but is too broad - which will result in less pressure per unit area and possibly leak. This needs to be narrowed - and the correct way to narrow this area of contact is to narrow the area of contact on the SEAT, not the face.
By carefully grinding the SEAT with the 30 and 70 degree stones, and dying and fitting the valve repeatedly, the area of contact can be both narrowed and placed in the center of the valve face.
This valve is now well fit to the seat, and the seat has all three angles now ground and is complete. Now, final matching of the seat and valve is achieved through lapping
If the valve is still to big, only the bottom edge of the face will contact the seat. If the valve is too small (re-used valves), only the top of the valve face will make contact.
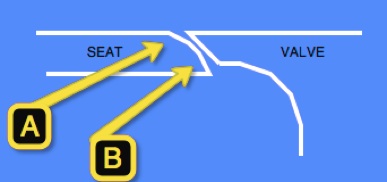
In order to achieve this, the the seat needs to have two additional angles ground. A wider angle is ground above the desired area of contact - usually 30 degrees (A)- this prevents the seat from touching the valve face. Below the desired area of contact, a narrower angle is needed - usually 70 degrees (B) - to prevent contact.